Car Window Tinting Process: A Step-by-Step Guide to Flawless Installation
Window tinting enhances a vehicle's appearance while improving comfort, safety, and privacy. At DC Auto Pros, a professional-grade installation ensures lasting performance, legal compliance, and aesthetic appeal. This guide outlines the step-by-step process of window tinting, explores various tint types, emphasizes legal considerations, and highlights the long-term benefits of professional installation.
Choosing the Right Tint Film
The first step in any successful window tinting project is selecting the appropriate film. Different film types vary in performance, longevity, and cost. Understanding their differences is key to choosing the best one for your vehicle.
- Dyed Film: This entry-level film absorbs sunlight and reduces glare. It's affordable but tends to fade over time.
- Metalized Film: Contains metallic particles that reflect heat. Offers excellent heat rejection and durability but may interfere with GPS and mobile signals.
- Carbon Film: Provides strong UV protection and a stylish matte finish. This film doesn't contain any metal, so you won't have to worry about interference with electronics. The cost is generally higher than dyed films, but for many drivers, the added benefits and overall appearance make it worth the investment.
- Ceramic Film: Known for top-tier heat and UV rejection, this non-metallic film maintains signal clarity and offers superior durability and visibility.
DC Auto Pros recommends ceramic and carbon films for Florida drivers due to their superior heat resistance and long-term value. If you're seeking a balance between quality and affordability, consider exploring carbon films. They strike that perfect middle ground between cost-effectiveness and top-notch performance without breaking the bank compared to high-end ceramic films.
The right tint contributes to an enjoyable driving experience and plays a role in protecting passengers from harmful UV rays. Take your time during this selection process—your comfort and satisfaction will thank you later.
As you consider your options for window tinting, it's important to also be aware of the regulations around tint levels and materials in your area. Understanding these guidelines will ensure that you make a compliant choice while enhancing your vehicle's aesthetics.
Understanding Florida’s Window Tinting Laws
Florida has specific regulations when it comes to window tinting:
- Front Side Windows: Must allow more than 28% of light in (28% VLT).
- Rear Side Windows: Must allow more than 15% of light in (15% VLT).
- Windshield: Tint is only permitted above the AS-1 line set by the manufacturer.
To stay compliant and avoid fines, it’s best to consult local authorities or certified professionals like DC Auto Pros before getting your tint installed.

Window Preparation
A flawless tint application begins long before the film meets the glass. Proper window preparation is a critical step that directly affects the longevity and quality of the tint. Any contaminants, such as dust, grease, or previous adhesive residue, can compromise the film’s ability to bond with the window, potentially leading to bubbling, peeling, or visible imperfections.
Why Preparation Matters:
Even the highest-grade window film cannot compensate for poor surface prep. Professional installers prioritize cleanliness to ensure the adhesive bonds tightly and evenly across the entire window surface. This practice enhances visual clarity and prolongs the life of the tint.
Thorough Cleaning Process:
- Initial Cleaning: Spray a high-quality, ammonia-free glass cleaner across the entire window surface.
- Microfiber Wipe: Use a clean, lint-free microfiber cloth to wipe away dust, dirt, and grime. This method prevents scratches and ensures no fibers are left behind.
- Razor Blade Scrape: Carefully glide a sharp razor blade across the glass to remove stubborn debris, including old adhesive, stickers, or paint overspray.
- Edge Detailing: Pay special attention to the rubber seals and corners where dirt often accumulates. These are common trouble spots that can lead to peeling if overlooked.
- Final Rinse and Wipe: Apply one last mist of cleaning solution and wipe the window again to eliminate any lingering particles or moisture.
Professional installers often perform this cleaning process multiple times to guarantee that the surface is as pristine as possible. Skipping even one step can result in a flawed installation.
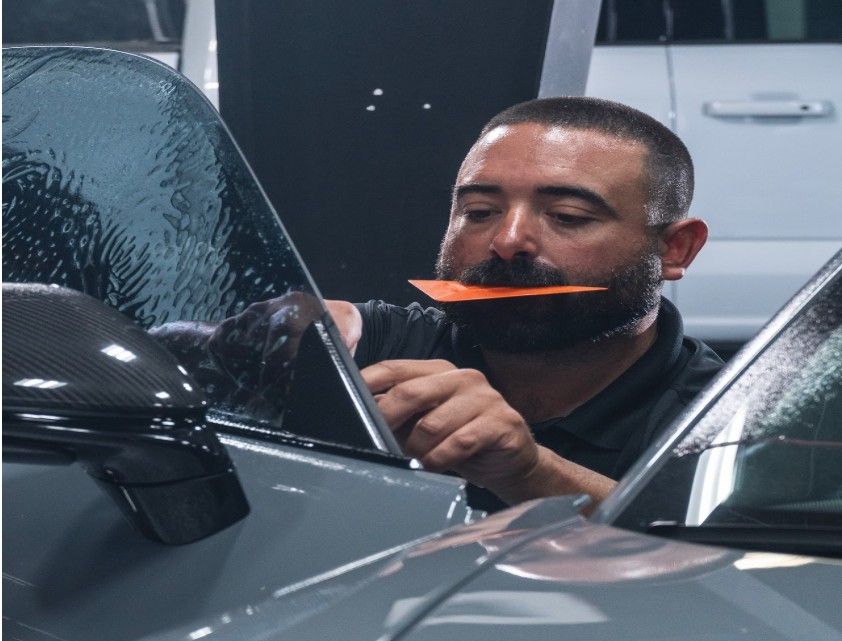
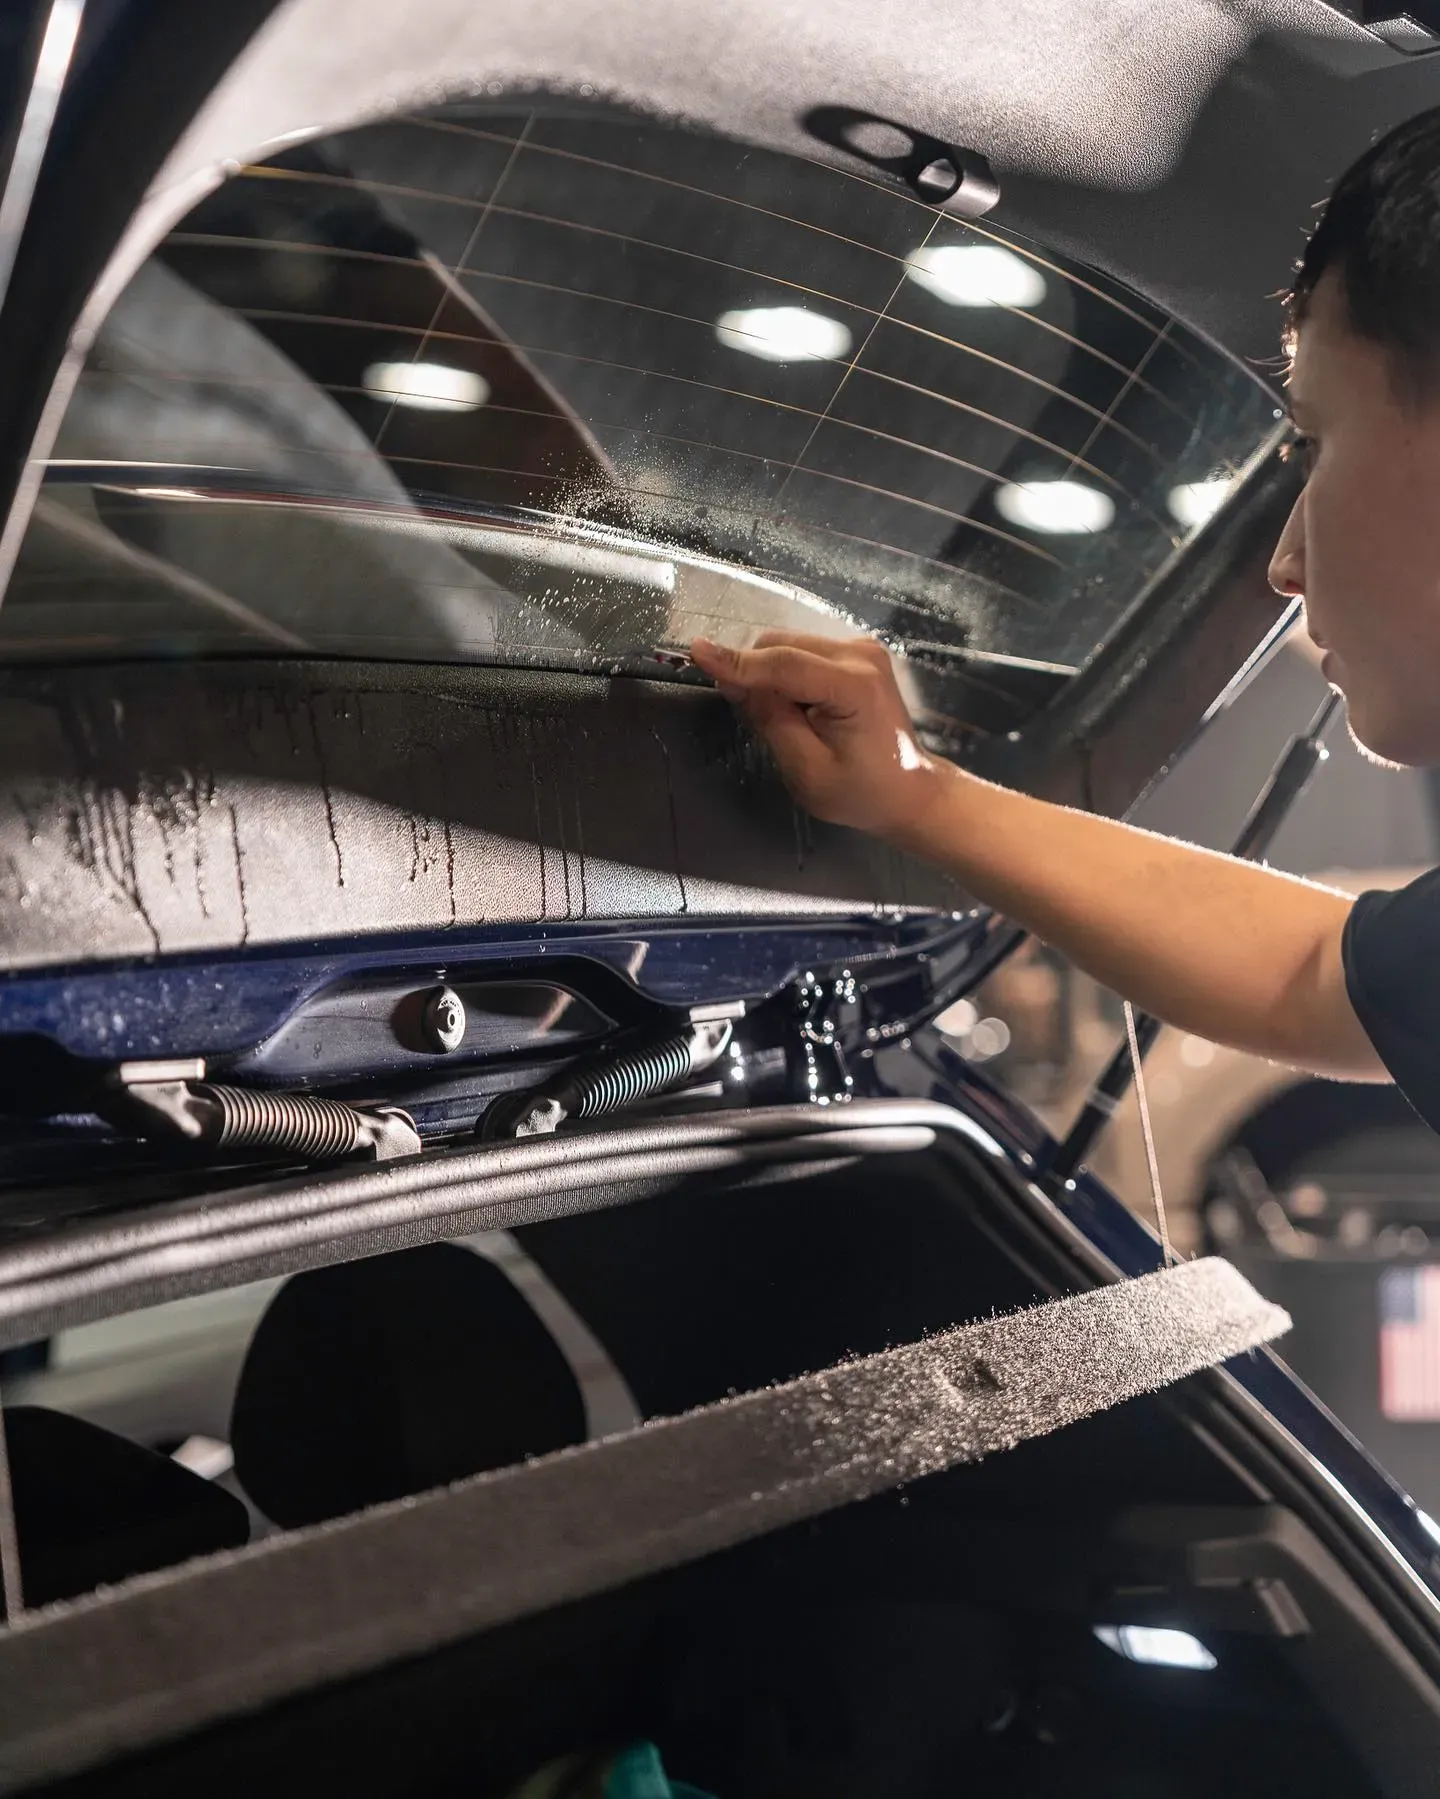
Step-by-Step Tint Application
Once the windows are fully prepped, the actual installation begins. At this stage, precision and attention to detail are crucial to achieving a smooth, bubble-free finish that looks professional and lasts for years.
1. Measuring and Cutting
Each window is measured individually to account for slight differences in shape and size—even among identical models. The film is cut slightly larger than the window to allow for exact trimming later. This margin helps accommodate the natural curves of the glass and ensures full coverage.
- Pro Tip: Films are often pre-shrunk using a heat gun on the exterior side of the glass before the final install. This step helps the film conform to curved windows, which are common in modern vehicles.
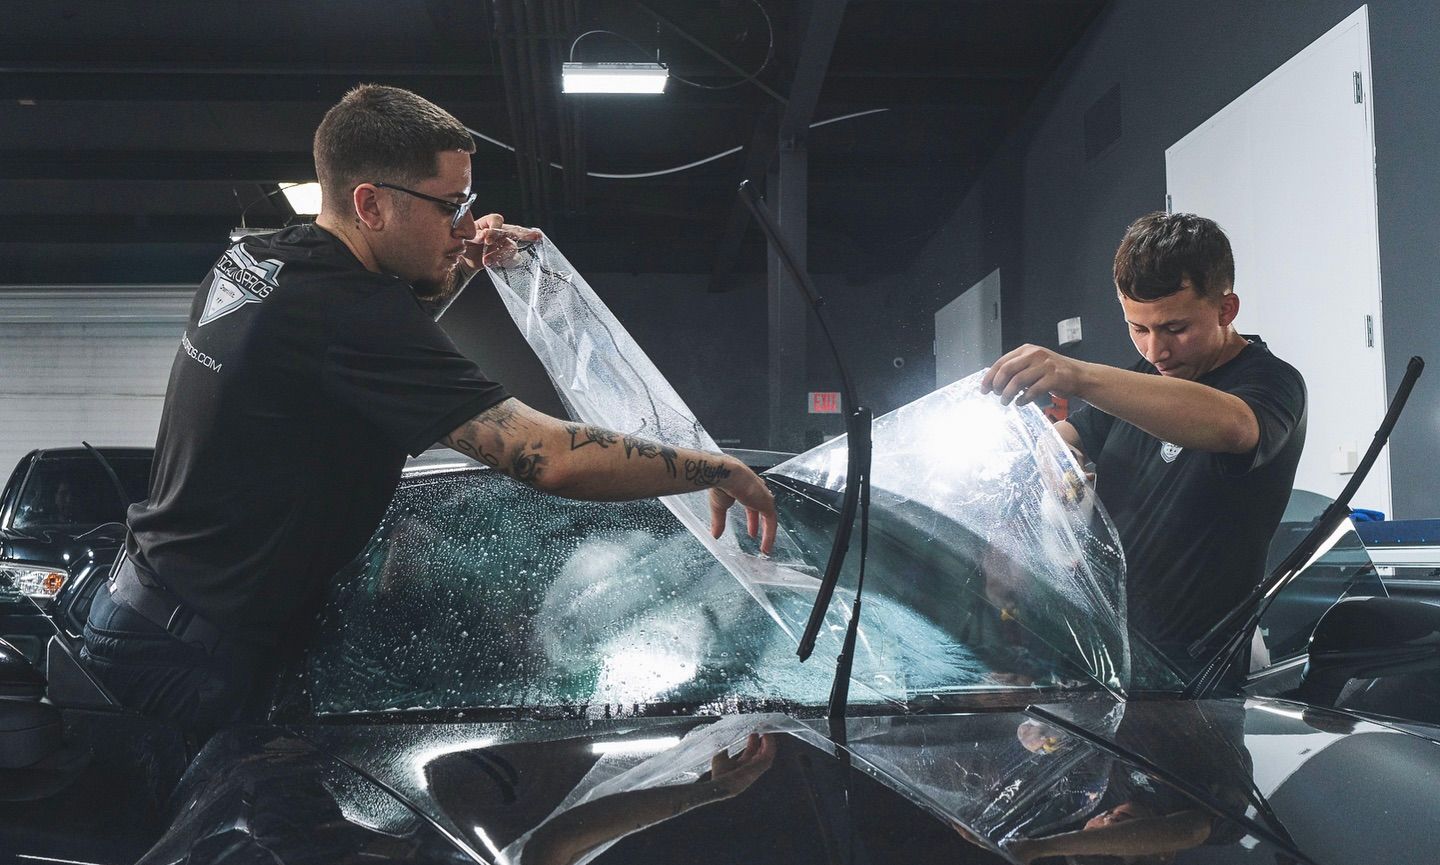
2. Application and Alignment
The adhesive side of the film is activated using a specialized application gel or solution. This solution reduces static and allows the installer to slide and reposition the film into perfect alignment before securing it in place.
- Top-Down Method: Starting from the top of the window, the film is carefully laid onto the interior surface and gently guided downward using gravity and light pressure. This technique helps prevent air from getting trapped underneath.
- Edge Check: Installers check that all edges are flush and that the film doesn’t curl or lift at corners—a common failure point when rushed.
3. Squeegeeing and Trimming
With the film in place, a rubber squeegee is used to press out air bubbles and excess water. This process is done in overlapping strokes, starting from the center and pushing outward to the edges.
- Trimming: Once secured, the film is trimmed along the window’s edges using a precision blade to match the glass contour perfectly. Excess material is carefully removed, and edges are sealed to prevent future lifting.
- Detail Pass: A second round of squeegeeing ensures all moisture is expelled, especially from corners and tight curves where bubbles are more likely to develop.
Long-Term Benefits of Window Tinting
Investing in professional window tinting is more than just a style upgrade—it’s a practical decision that brings significant, long-term benefits. From protecting your vehicle’s interior to enhancing its resale value, quality tinting offers advantages that go beyond aesthetics.
1. UV Protection
One of the most important benefits of window tinting is its ability to block up to 99% of harmful ultraviolet (UV) rays. UV exposure can cause serious health issues such as skin aging and an increased risk of skin cancer. Tinting helps shield passengers from this exposure during daily commutes or long drives. Additionally, UV rays can fade upholstery, dry out leather, and damage dashboards over time. Tinted windows serve as a barrier, keeping your interior materials looking new for years longer.
2. Heat Rejection and Climate Control
In sunny climates like Florida, vehicle interiors can become unbearably hot, especially during summer months. High-quality window films reduce solar heat gain significantly, keeping the cabin cooler and more comfortable. This reduces reliance on air conditioning systems, which can extend their lifespan and lead to better fuel efficiency. The result? Less energy consumption and a more environmentally friendly vehicle operation.
3. Privacy and Security
Privacy is a growing concern for many drivers. Window tinting limits visibility into your vehicle from the outside, protecting passengers and any valuables left inside. Whether parked at a busy shopping center or in a residential driveway, tinted windows reduce the likelihood of theft or break-ins by obscuring potential targets. This added sense of privacy also makes for a more secure and relaxing driving experience.
4. Glare Reduction
Driving under bright sunlight or facing harsh headlights at night can cause dangerous levels of glare, leading to eye strain or momentary blindness. Window tinting significantly reduces this glare, enhancing visibility and safety behind the wheel. Whether you're navigating coastal highways or busy city streets, less glare means fewer distractions and better reaction time.
5. Interior Preservation
Vehicle interiors—particularly leather and vinyl materials—are prone to cracking, discoloration, and warping from prolonged sun exposure. Over time, this damage can impact the resale value of your car. Tinting protects these surfaces by filtering out harmful light, keeping materials in pristine condition, and minimizing long-term wear and tear.
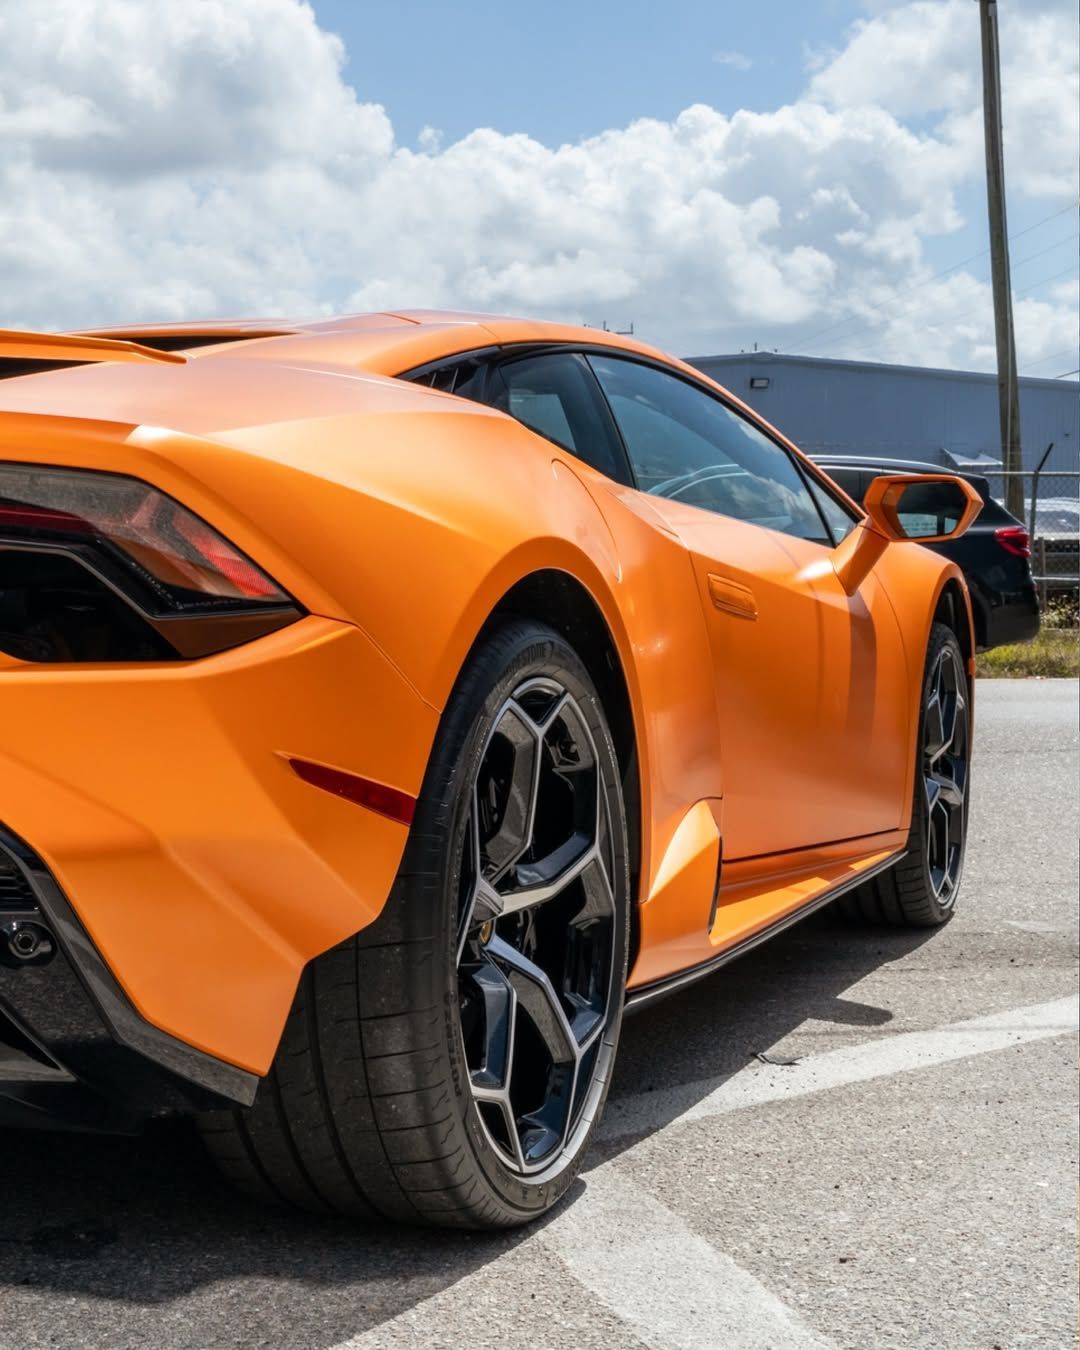
6. Enhanced Vehicle Aesthetics
A professionally tinted vehicle has a polished, modern look that can elevate even the most basic car model. Tint films come in various shades and styles, allowing drivers to customize their vehicle’s appearance to match their personal style while still complying with local laws. For many vehicle owners, tinting is one of the most cost-effective ways to boost curb appeal.
7. Resale Value
By protecting the interior and maintaining a sharp exterior look, window tinting plays a role in preserving a vehicle’s resale value. Prospective buyers often see tinted windows as a value-added feature, especially in warmer climates where heat reduction is a priority. Properly installed, legally compliant tints make a car more attractive in the used vehicle market.
Why Professional Installation Matters
While DIY kits might appear to save money upfront, they come with significant risks that can lead to higher costs in the long run. Improperly installed film can bubble, peel, or discolor within weeks, resulting in reduced effectiveness and diminished aesthetics.
Expertise and Equipment
Professional installers like us at DC Auto Pros have the training and experience to apply window films with precision. From selecting the right film for your vehicle to achieving a flawless finish, expert installers ensure the job is done right the first time. Specialized tools, such as heat guns and precision blades, help achieve a clean, tight bond with no creases or imperfections.
Legal Compliance
Florida—and many other states—has strict laws governing how dark and reflective a window tint can be. DIY installations often ignore or misunderstand these regulations, leading to fines, inspection failures, or forced removal. Professionals stay up to date on state-specific tinting laws and ensure that every installation complies fully with local codes.
Product Quality and Warranty
Professional tinting services use high-grade films that offer better UV protection, durability, and color retention than the films found in off-the-shelf kits. Many of these films come with warranties that protect against bubbling, fading, and peeling—coverage that isn’t available when tinting is done independently.
Time and Convenience
DIY installations can take hours and often require multiple attempts. By contrast, professional installation is efficient and precise, allowing drivers to enjoy the benefits of tinted windows without the stress or trial-and-error process.
Final Thoughts
A proper window tint installation enhances not only the look of a vehicle but also its efficiency, safety, and comfort. From choosing the right film to curing the final application, every step matters. For Florida drivers seeking reliable, compliant, and lasting results, professional services from DC Auto Pros are the smart choice.
Are you prepared to safeguard your car and enhance your driving experience? We invite you to schedule your appointment with DC Auto Pros or CALL (239) 770-8411 at your convenience.